JESUS IS COMING SOON!
Shed Foundations 101: Shed Base Tips, Best Materials, and More
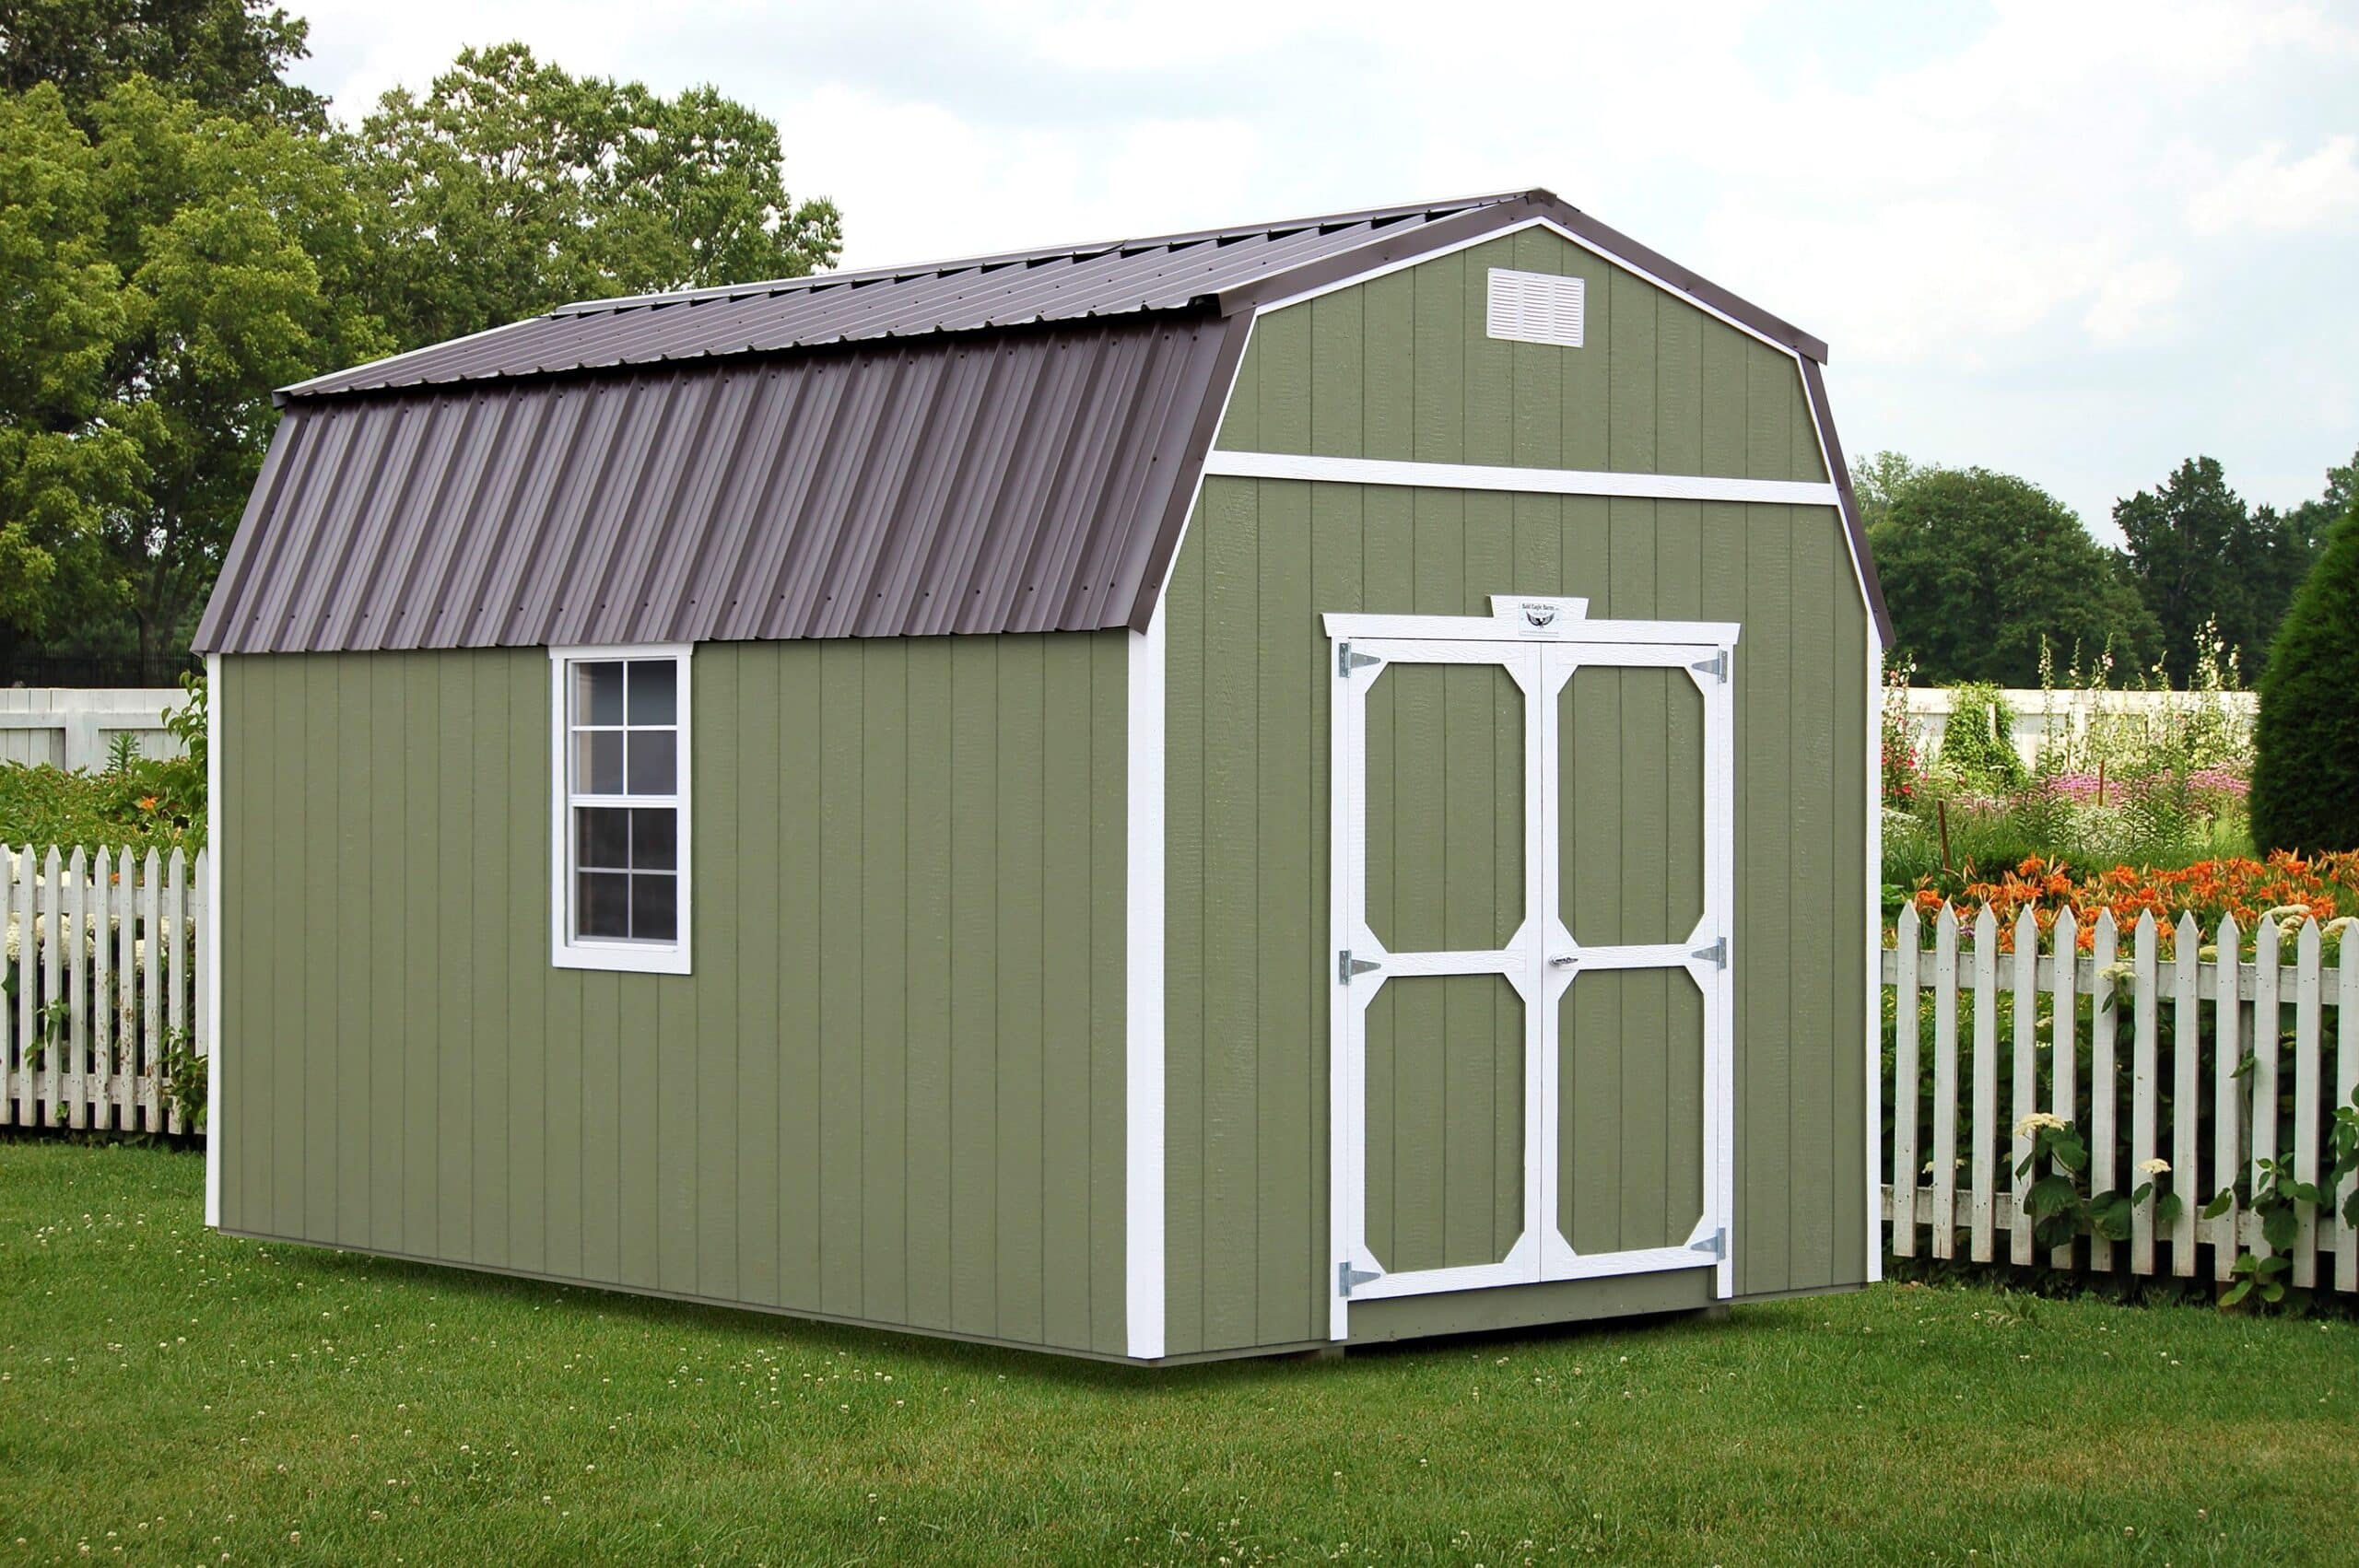
Picture this: you spend thousands of dollars to buy a brand-new shed and love how much it improves your backyard. It is the perfect size to hold all your lawn and gardening equipment, and it looks great, too.
However, only one year later, you notice that the ground has settled, your shed is starting to lean to one side, the door begins to stick, and part of the floor is warped. The shed you thought would last for years has only made it a matter of months before starting to have problems.
What happened?
You neglected one of the most important parts of your shed: its foundation.
Never fear! This doesn’t have to be your reality. With Bald Eagle Barns, we are eager to help you get your new barn, shed, or garage safe and sound on its new foundation! In this article, we’ll explore topics like…
Does Your Shed Need a Foundation?
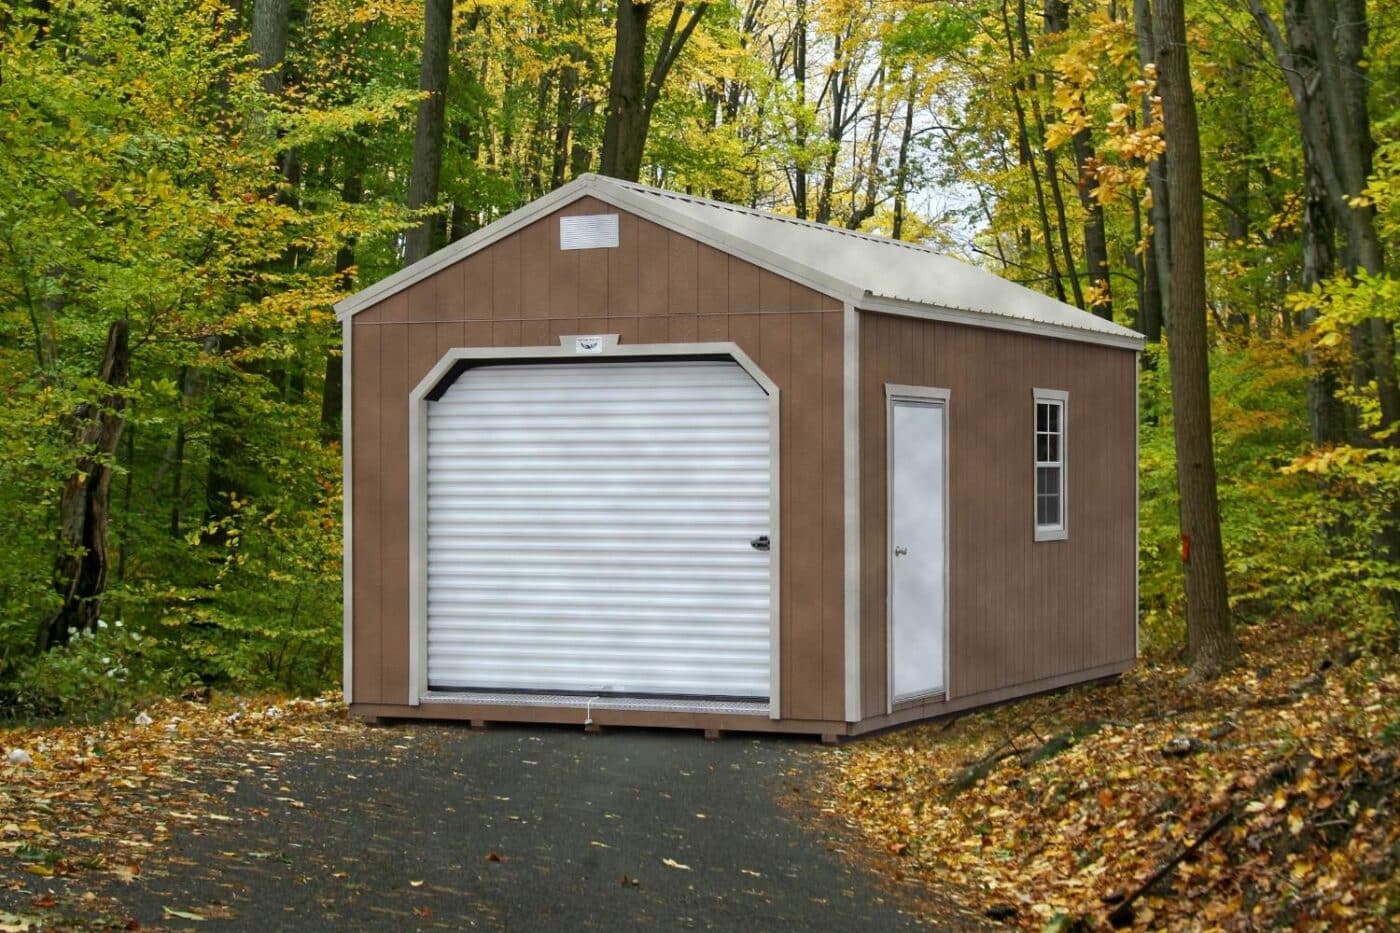
In most cases, the answer to this question is a heartfelt and resounding yes. However, whether or not your shed needs a foundation depends on the size and weight of your shed. Sheds need a solid foundation to prevent the dreaded warping, leaning, and breaking down that haunts many new shed owners.
A good foundation made of gravel, concrete, slabs, or more will ensure that your shed is and remains level and sturdy.
Need help planning your shed foundation? Get in touch with our experts for personalized guidance!
What Size Shed Needs a Foundation?
Any medium to large shed needs a foundation! Generally, sheds larger than 6×8 ft, 8×8 ft, 200 sq ft, or taller than 12 ft need a solid foundation to ensure stability.
What Shed Weight Needs a Foundation?
Weight is an incredibly important factor when considering shed foundations. The shed’s base carries the weight of the shed and whatever you put inside your shed. A strong foundation will prevent your shed from collapsing onto the ground or becoming damaged. A good generality to go by is if you think the total weight of your shed, or what you will put inside it, will be over 300-500 pounds, you should seriously consider placing the shed on a foundation.
What If My Shed Has a Built-In Floor?
Unless your shed is made of plastic or rubber, you will still need a foundation for a shed that has a pre-built floor. Even with a pre-built floor, a foundation ensures your shed is properly supported and will not settle unevenly on the ground.
Why Is It Important to Build a Shed Foundation?
Preparing the site of your shed is critical to increase its lifespan. It is crucial that you build a solid shed foundation to support it over the coming years. Regardless of what material or style of foundation you choose, having a strong base will protect your shed from issues like:
- Water Damage – Without a foundation allowing proper drainage, water can pool around or under your shed, causing rot, mold, and mildew.
- Unstable Structure – A weak or uneven base can lead to your shed shifting, leaning, cracking, or even collapsing.
- Floor Damage – An improper foundation could cause your shed’s floor to sag or warp, making it hard to use and potentially dangerous.
- High Maintenance Costs – All of the above issues will require constant maintenance, which means high repair costs over the life of your shed. If you neglect your foundation, be prepared to break out the checkbook for costly repairs.
Now that you know why building a solid shed foundation is so important, the next question you likely will have is, how do I build a shed base? Before building a shed foundation (or hiring someone else to build your foundation), you need to decide what type of base you want.
Ready to build a solid foundation? Contact Bald Eagle Barns for professional advice and shed installation services!
3 Common Types of Shed Foundations
1. Concrete Block Shed Foundation
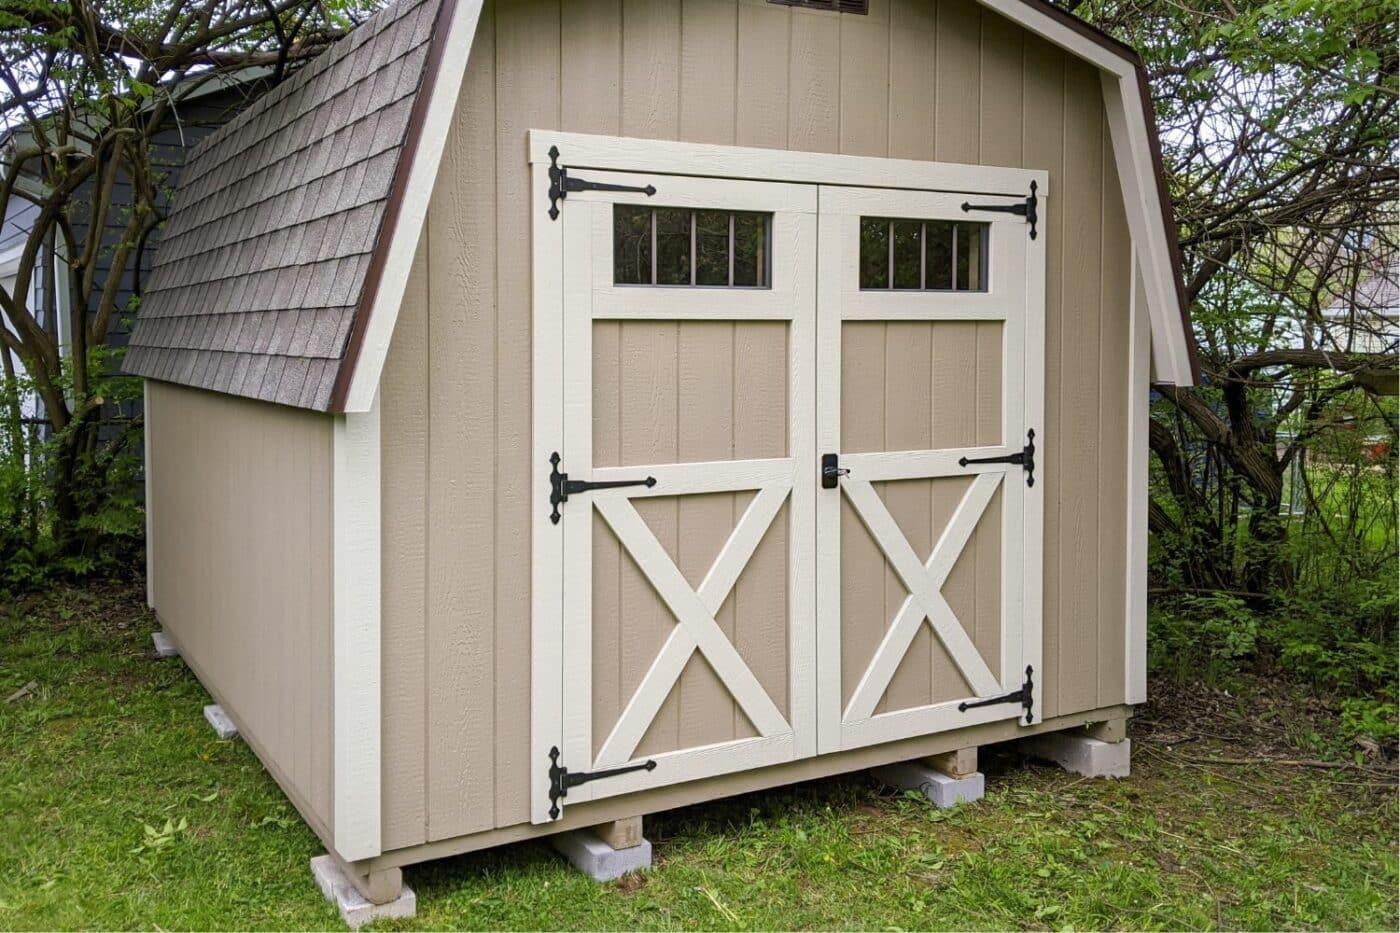
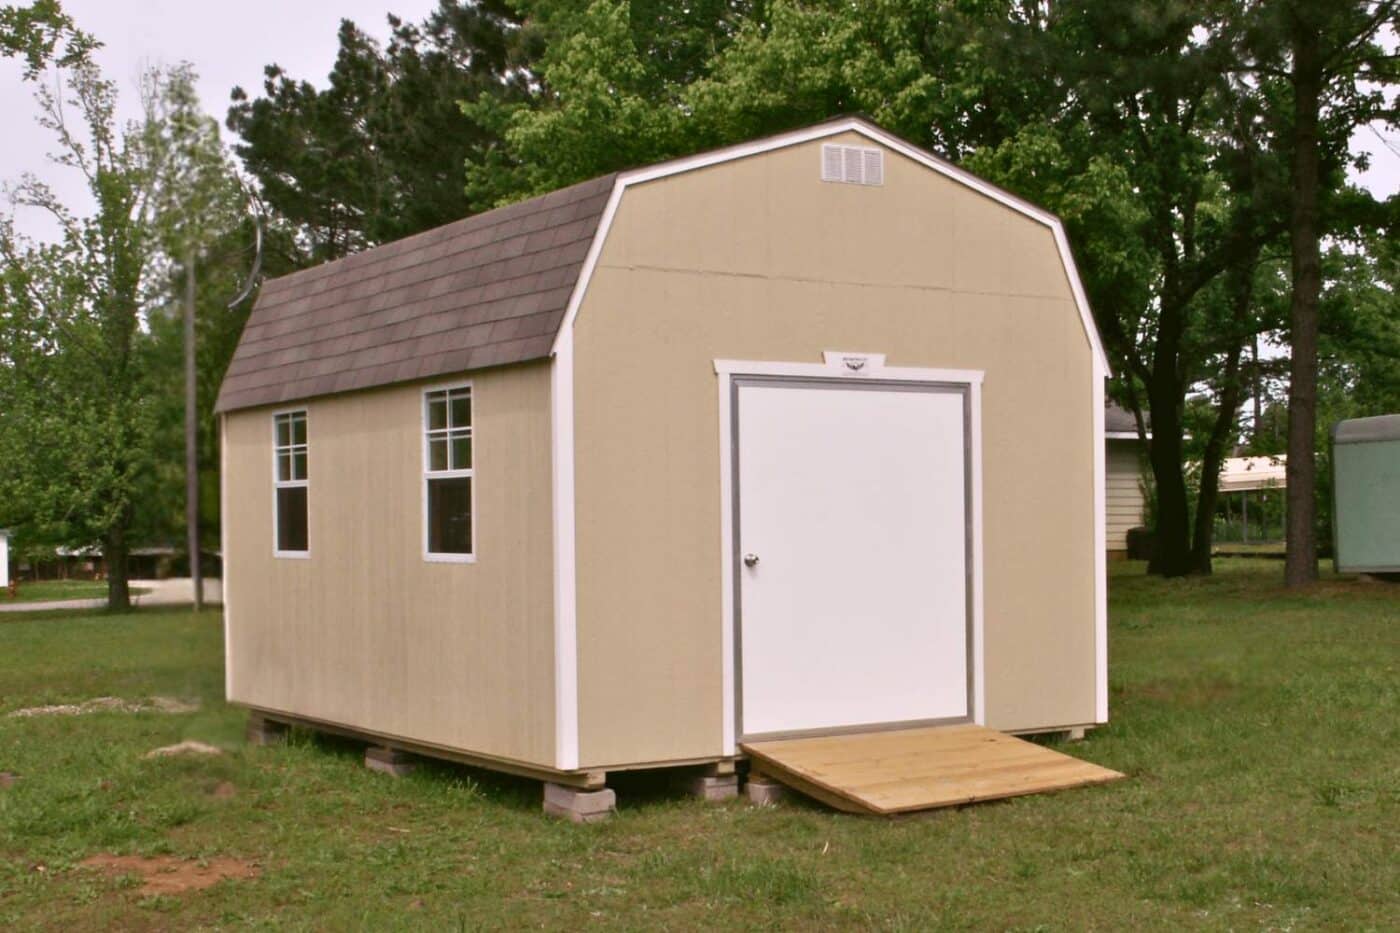
Unlike other foundations, this type of foundation is the simplest to build and requires little to no excavation. The base of this foundation is made of concrete blocks placed either on top of the ground or dug slightly into the ground, followed by multiple wooden skids on top of those.
With this foundation in place, Bald Eagle Barns can then place the shed. Before the shed is placed, you should check the concrete blocks to ensure they are all level and match each other. Otherwise, the shed could lay crooked or eventually begin to sag.
At Bald Eagle Barns, depending on your shed’s size and style, we use 2-5 pressure-treated 4×4 skids for our concrete block foundations to give your shed maximum support over its lifetime.
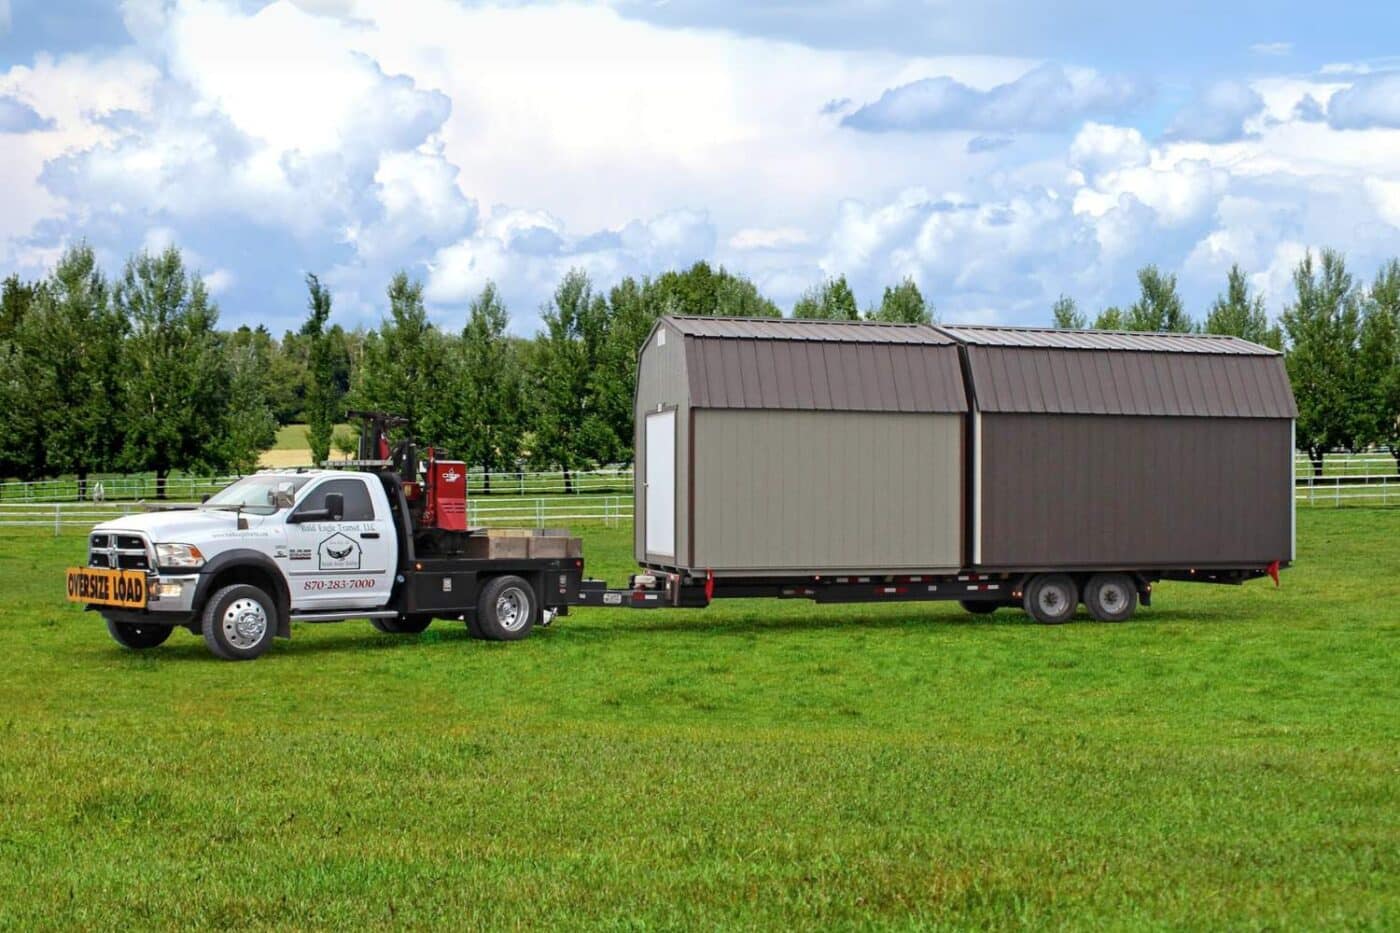
This base type is our go-to method because it provides an effective foundation while requiring no additional effort or expense for our customers. Most of our buildings include all the concrete blocks needed for leveling. This allows our highly experienced delivery team to easily deliver, set up, and level your new portable building at no additional charge.
2. Concrete Shed Foundation or Concrete Pad
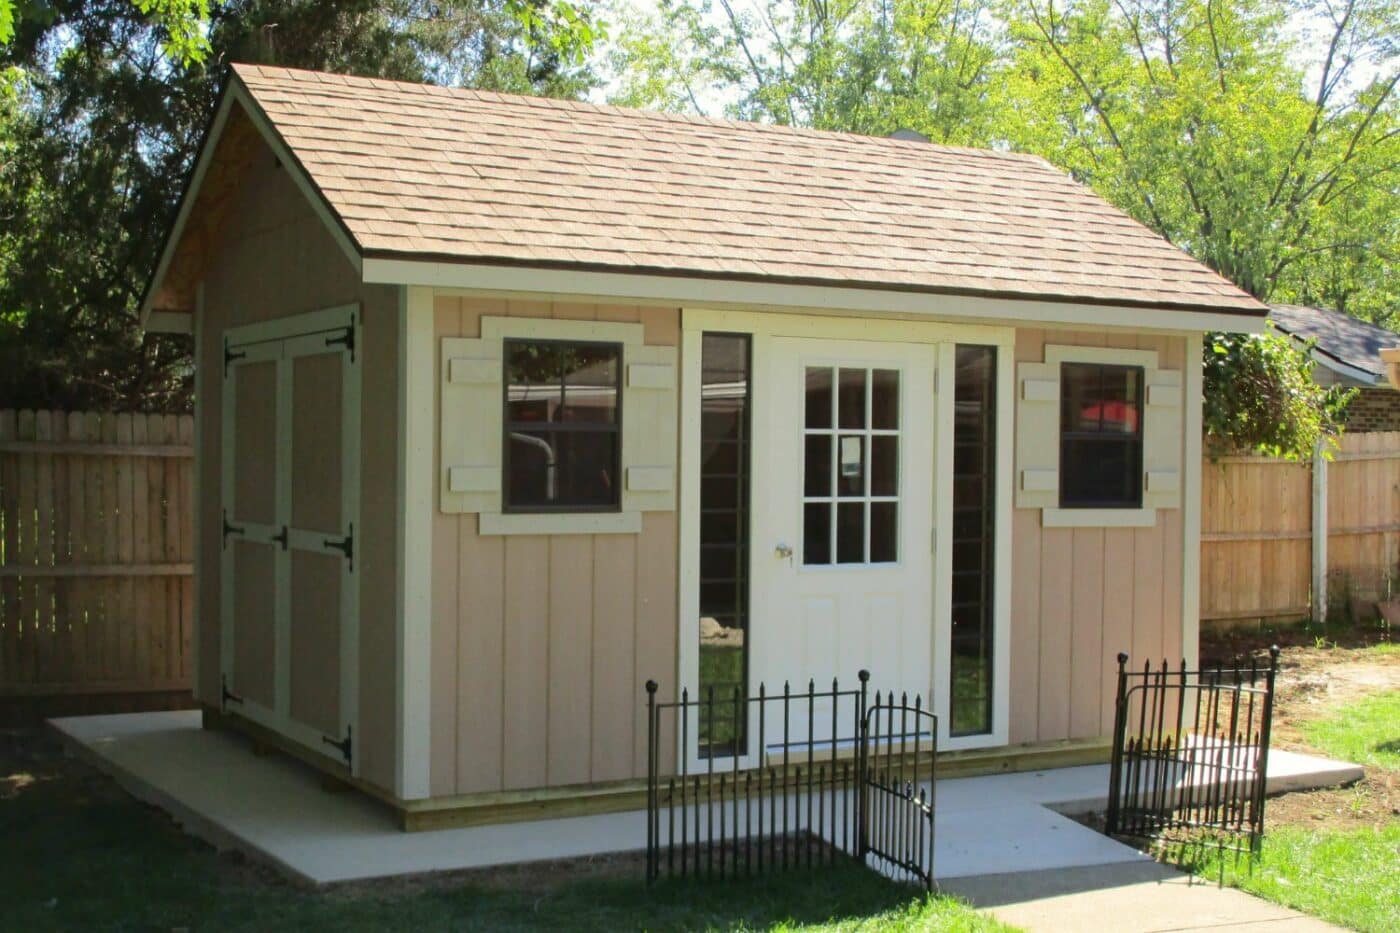
While we typically recommend a concrete base for large structures, like a garage or cabin, a shed can also have a concrete base!
If you are building a large shed or another structure that will house large, heavy items like a car, consider a concrete pad as a floor for a strong base. This foundation is resistant to pests like termites and mice, as the concrete forms a completely solid base.
It is important to note that concrete pad foundations are expensive and, while more resistant to pests, do not drain as well as other shed foundations.
We recommend this shed foundation choice for those who are building their shed on-site and wish the concrete pad to function as the floor (as opposed to the wooden floor from the shed)!
3. Gravel Shed Foundation or Gravel Pad
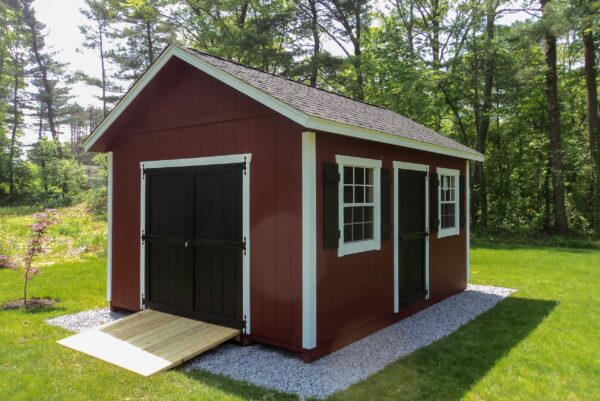
A gravel shed foundation is also a great choice as a foundation pad for prefab sheds, combining stability and drainage at a lower cost than a concrete pad. Some recommend it as their top choice for shed foundations.
A gravel pad under your shed acts like a large sponge, allowing water that would usually collect around the bottom of the shed to drain safely into the ground. Additionally, installing a gravel shed foundation is much quicker and easier than pouring a concrete base.
An excellent choice for DIYers, with the right equipment and materials, a gravel shed foundation can be completed in less than a day!
Other Common Type of Shed Foundations/Bases
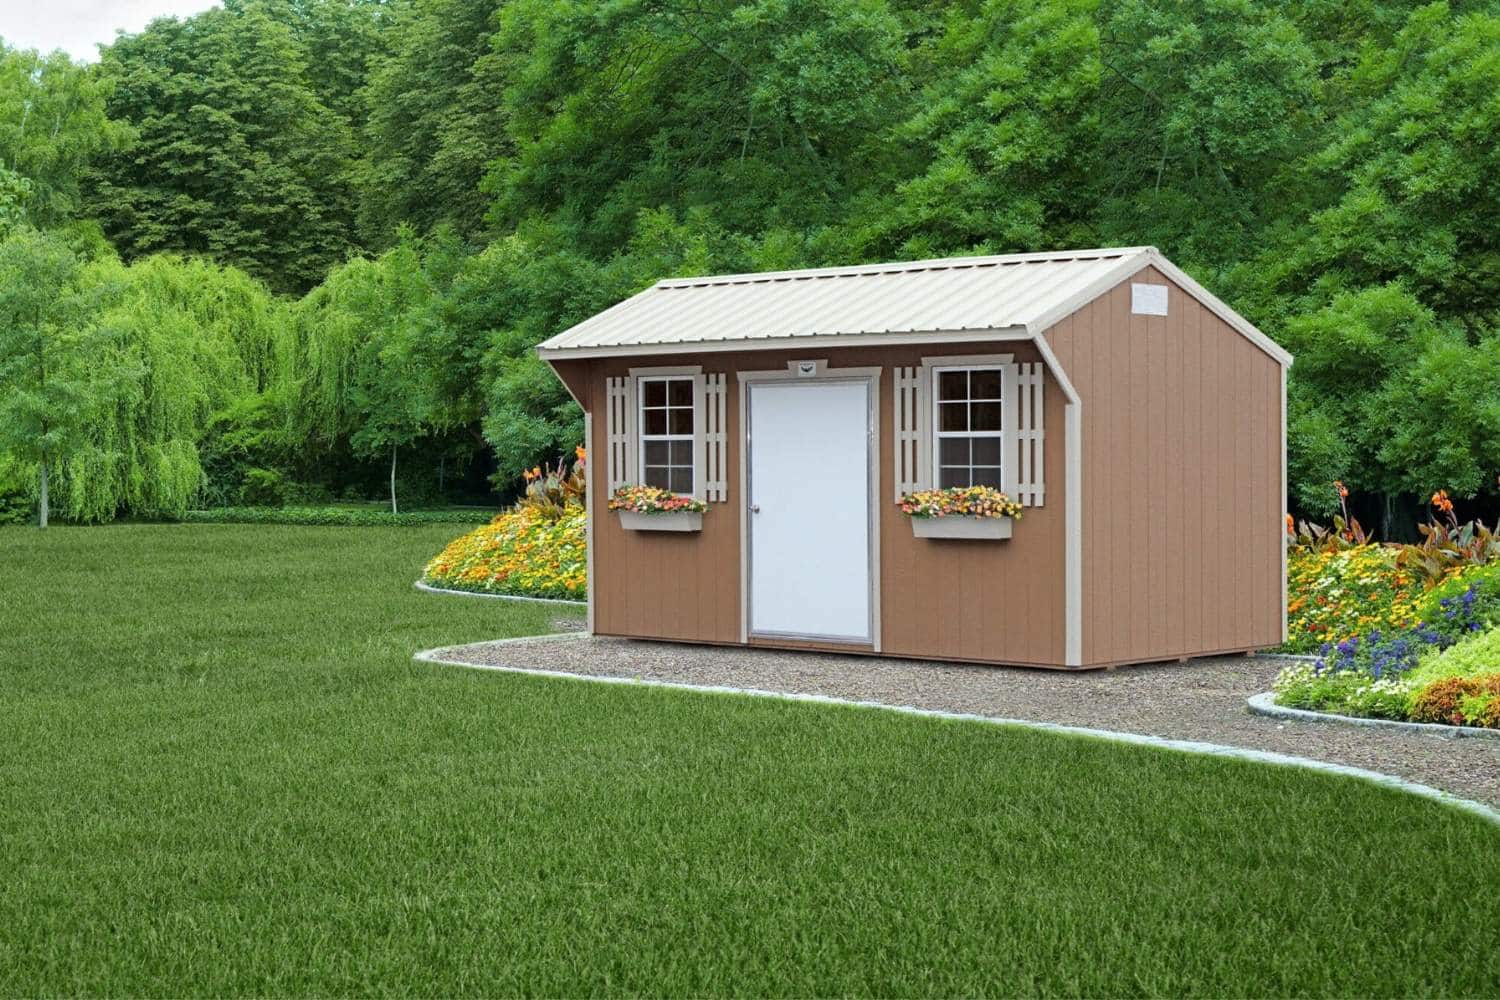
There are many different shed foundation options besides our three favorites for you to explore!
You can also place your shed on wooden piers, which is an excellent choice for smaller sheds. A wooden base is a framework made of pressure-treated posts to keep the shed off the ground.
Besides Concrete Blocks and Concrete slabs, you can also place your shed on concrete pavers. Placing pavers can be an inexpensive way to play with your shed on a concrete base as long as you ensure your concrete pavers are level.
If you plan to place a shed on a sloped service, consider a post and beam foundation. This foundation is made by setting vertical wooden posts into the ground and connecting them with horizontal beams to create a raised platform for your shed. In the shed planning process, the kind of foundation you choose may depend on your preference, location, and shed type.
On-Grade vs. Frost-proof Shed Foundations
When choosing a foundation, it’s essential to understand the difference between on-grade and frost-proof foundations and decide which option best suits your needs.
On-grade shed foundations include any shed foundation that is built directly on the ground or rests on/above the surface of the ground. A concrete block foundation and gravel pad foundation are both examples of an on-grade shed foundation.
Frost-proof, or permanent, shed foundations include shed foundations that are built to extend below the local frost depth (frost depth is simply the deepest point in the ground where water will freeze). Frost-proof shed foundations commonly include concrete piers and concrete foundations with footers.
Depending on your area, frost-proof shed foundations may be required! Find Arkansas’s frost depth here!
If your area doesn’t require a frost-proof foundation, you can decide which you’d like to install! However, if the ground in your area freezes beyond a few inches every winter, you should strongly consider a frost-proof foundation. Additionally, because frost-proof foundations are the most durable, if you plan on building a larger shed, you might benefit from a frost-proof foundation.
What is the Best Foundation for a Shed?
Use our table to compare the different types of shed foundations for your Bald Eagle Barn’s Shed!
| Foundation Type | Cost | Durability | Ease of Installation | Drainage | Best For |
| Concrete Block Foundation | $ | Moderate | Easy | Moderate | Prefab sheds and smaller structures |
| Concrete Pad Foundation | $$$ | High | Requires Expertise | Low | Heavy Sheds, garages, or cabins |
| Gravel Foundation | $$ | Moderate to High | Easy (DIY-friendly) | High | Prefab sheds needing stability & drainage |
| Wooden Piers | $ | Moderate | Easy (DIY-friendly) | Low | Smaller sheds on uneven ground |
| Concrete Pavers | $ | Low to Moderate | Moderate | Moderate | Small sheds |
| Post and Beam | $$ | High | Requires Expertise | Moderate | Sloped Surfaces and/or larger sheds |
What Type of Foundation is Best for Bald Eagle Barn Sheds?
For most Bald Eagle Barn Sheds, a concrete block foundation is an excellent choice for most uses. We recommend this foundation because it provides an effective foundation with no additional effort or expense for our customers. Most of our buildings include all the concrete blocks needed for leveling. This allows our highly experienced delivery team to easily deliver, set up, and level your new portable building at no additional charge! Of course, you are welcome to place your shed on the foundation of your choice!
Best Shed Foundations To Use in Arkansas
Due to Arkansas’s damp weather conditions and frequently uneven terrain, an elevated foundation such as a gravel pad, concrete block, or concrete pier is an excellent option to combat the potential for high water tables and heavy frost cycles.
Learn more about our Arkansas-specific foundation recommendations—call us today!
Read More About Our Shed Site Preparation Process
What Size Foundation Should My Shed Have?
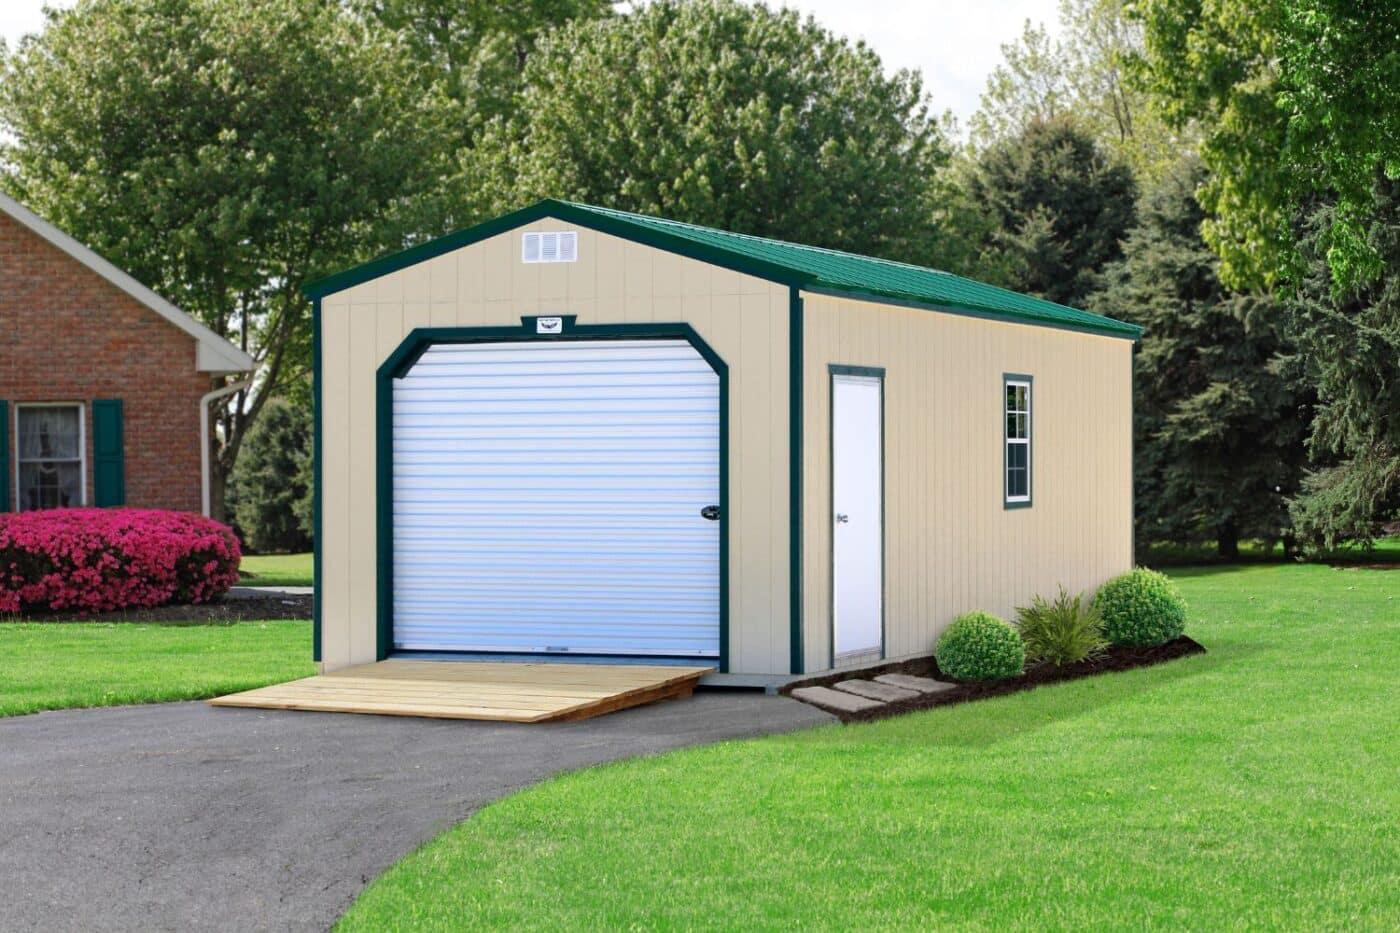
This is an excellent question to ask and an important factor to consider when planning your shed foundation! If the shed you bought has a built-in floor, you will want the gravel foundation to be 2ft (minimum 12”) longer and wider than your shed walls. If your shed does not have a floor, you will want the concrete foundation to be exactly the same length and width as your shed’s walls.
Communication with your shed builder is a great way to ensure that your foundation is the perfect size for your shed!
How High Should My Shed Be Off the Ground?
For most areas, your shed should sit at least 4-6 inches off the ground. This will help keep the base safe from water damage, rot, and bugs. Read more about the correct shed height here!
WAIT— You May Need a Building Permit
Before you begin digging, buying gravel, or organizing a shed delivery date with our builders, you must find out if your local area requires a permit to build or place a shed on your property.
Shed Building Permits in Arkansas
While regulations and permit requirements will differ throughout Arkansas, in most cases, sheds larger than 120 sq ft, taller than 10 ft, and permanently attached to the ground will need a building permit.
For example, the state’s capital, Little Rock, requires a building permit for a shed larger than 200 sq ft. You can find Little Rock’s Building Permitting Code here! For information for permits in Missouri, read this blog about Missouri permits.
We strongly recommend that you check in with your state, county, or local city’s building code before beginning the process of laying a foundation or placing a shed!
How To Install a Shed Foundation
Each type of foundation requires a different amount of work to install. A concrete block or cinder block foundation is much easier to lay than a complete concrete shed base in your backyard. Some of these options are easy to do yourself, while others may require some help. Read on to learn the process for installing each type of shed base!
How To Build a Concrete Block Shed Foundation
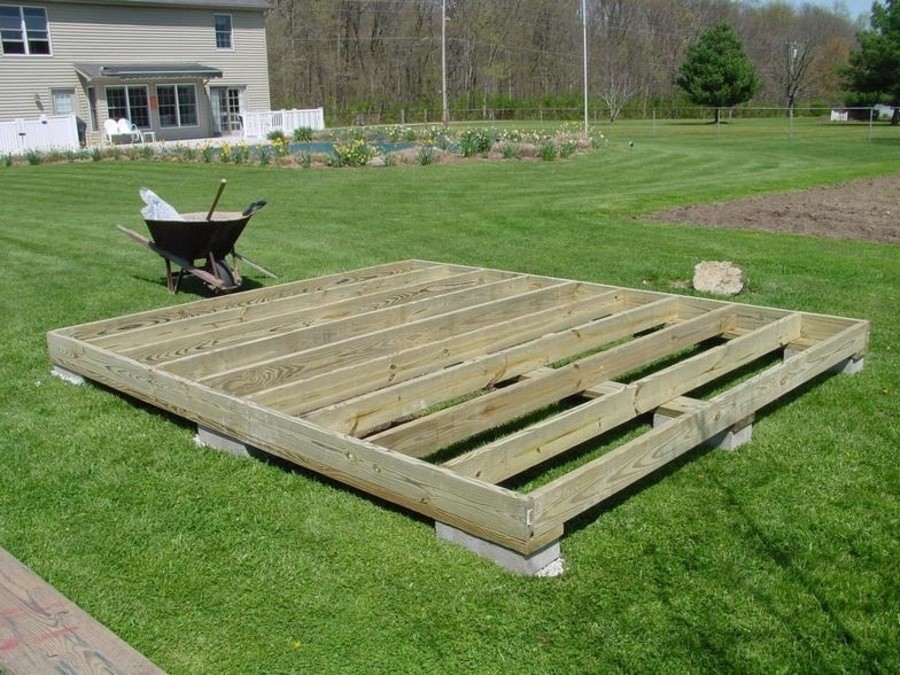
First and foremost, ensure the site is prepared and marked with the measurements of your shed. Second, place the concrete blocks or cinder blocks at each corner and around the edge of the foundation, making sure there is no more than 4-6 feet between the blocks (depending on your shed’s size and weight). Use a level to confirm each block is level and adjust as needed.
Once the concrete blocks are placed and leveled, lay your pressure-treated 4×4 or 6×6 wooden skids on top of the blocks. These should go perpendicular to the direction of the shed floor joists. Ensure the skids are evenly spaced and lined up with the cinder blocks. Use your level once again to make sure the skids are level.
At this point, your concrete block base is ready for your shed! Make sure everything is lined up and that the shed sits firmly on top of the foundation.At Bald Eagle Barns, most of our sheds come with five pressure-treated 4×4 skids for concrete block foundations. Our Value Series and Diamond Series sheds come with blocks, meaning you can sit back and relax as we build your foundation and install your shed!
How To Install a Concrete Pad Foundation
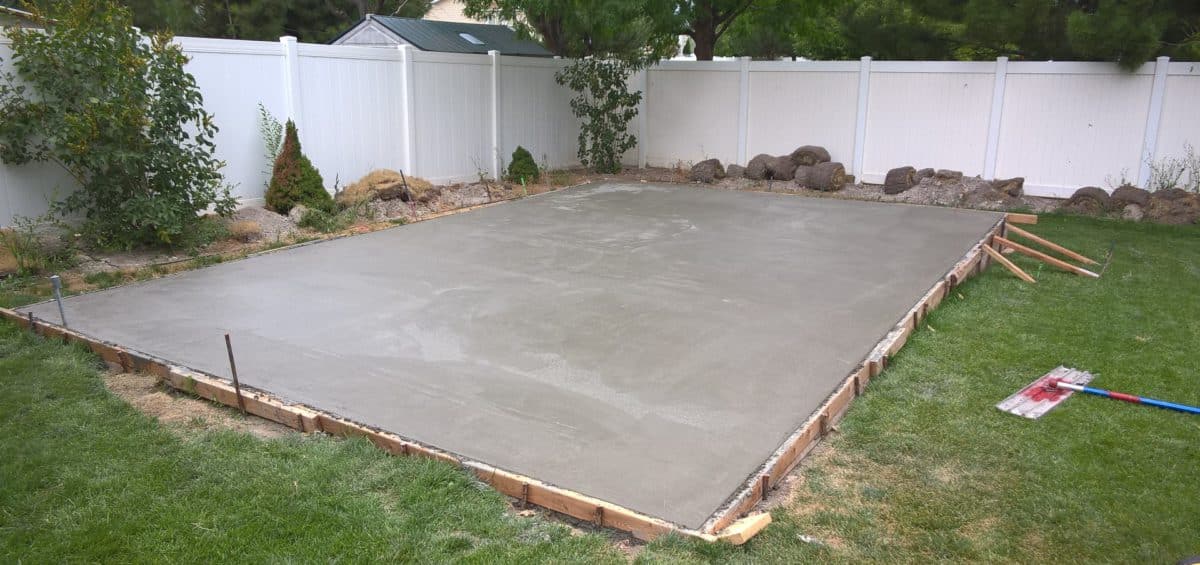
First, mark out the dimensions of your concrete pad and clear any rocks or debris. Dig down 6-8 inches into the ground, giving enough room for the stone and concrete. Tamp down the earth at the bottom of the excavated area, then add 3-4 inches of gravel or crushed stone and tamp that down as well. At this point, you have made a solid base for the concrete that will also allow for some drainage underneath the concrete pad.
Once the tamped stone is in place, you will need to use 2×4 or 2×6 boards to build the forms to hold the concrete in place. Assemble the forms around the excavated area, making sure they are level and square, and then secure them with stakes or fasten them together to be removed after the concrete is poured.
Next, using concrete you made or had brought in, pour the concrete on top of the stone 4 inches thick, spreading it evenly within the forms. Once the concrete reaches the surface, level it off and smooth it to your liking. After the concrete has cured (typically after 48 hours), carefully remove the forms and finish smoothing any rough edges. It may be best to use a broom finish on the new concrete pad to prevent any slippery spots, but the final finish is up to you.
How To Install a Gravel Shed Base
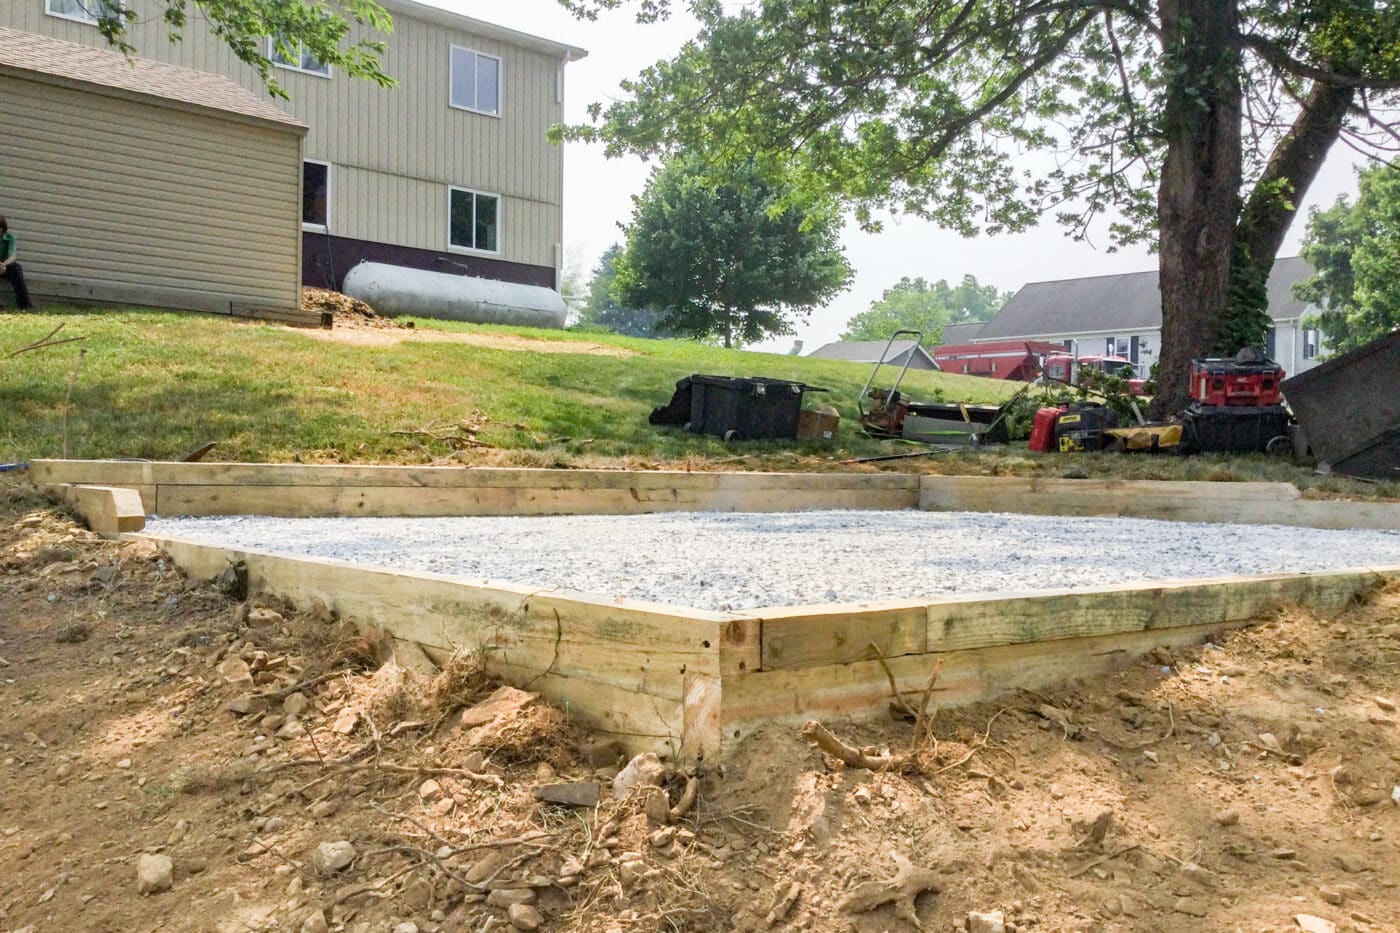
A gravel base is much simpler and cheaper to build than a concrete pad. To start, clear the area where your shed will go and mark it off using stakes and string. Like a concrete foundation, dig 4-6 inches down for smaller sheds and 8 inches for larger sheds. Tamp down the dirt at the bottom of the excavated area.
If your shed is on a slope, you will either have to build up or dig out the back end to ensure you end up with a flat surface of gravel. Use treated 4x6s to build a retaining wall to keep the stone in or prevent dirt from filling up against the shed once it is installed.
Once the excavated area is complete and any retaining walls are built and leveled, pour your gravel into the foundation and tamp it down well to make sure it won’t move once the shed is placed on top.
You can use different gravel or crushed stone for your gravel pad, so you can choose whichever type of gravel you feel is best. We recommend using 3/4 clean gravel, also known as “clean stone”, “3/4 washed”, or “#57”. This stone is excellent because it will provide a sturdy, packed-down base without packing down too much and preventing water drainage.
After the gravel has been filled and tamped down well, your gravel base is ready to provide a porous, stable foundation for your new shed for years to come!
Tips for DIY Shed Foundations
While you can hire someone to lay your shed foundation for you, with the right tools, materials, and help, you can also build your own shed foundation! Now that we’ve walked you through how to build different shed foundations, here are a few tips before you break out the shovel, purchase your gravel, or call your strongest friends.
- Ensure you have the correct building permits, and if you’re digging into the ground, make sure you contact Arkansas’s utility companies before you begin!
- Choose a good location: you want a spot that doesn’t collect water and follows the zoning laws in your area.
- Ensure the spot is cleared and leveled.
- Gather all your tools and materials.
- It’s time to begin!
Of course, at Bald Eagle Barns, with the purchase of most of our sheds, you don’t have to worry about building a shed foundation, as our trusted builders will come to install the concrete block foundation when they bring you your new shed!
Want a hassle-free foundation installation? Let Bald Eagle Barns handle it for you. Contact us now to get started! Or, explore our inventory to pick out your shed!
Contact Bald Eagle Barns About Your Shed Foundation or Other Outdoor Structure
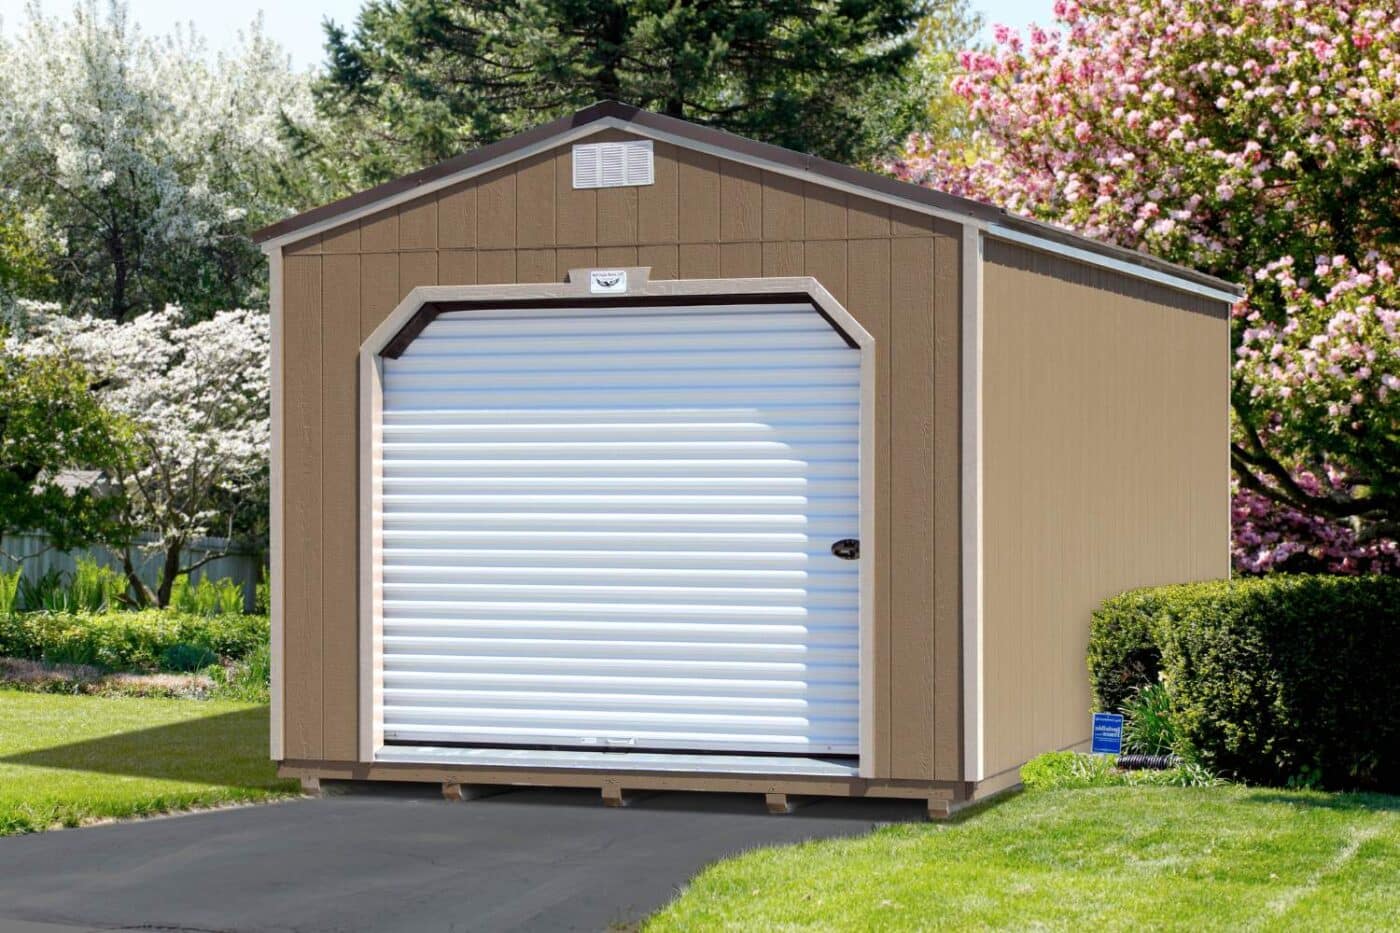
No matter what size or style of shed you are looking for, Bald Eagle Barns can find you the perfect shed for your property. If you need a high-end shed, our Diamond Series sheds include the installation of a concrete block foundation, so you don’t have to worry about picking between foundation types!
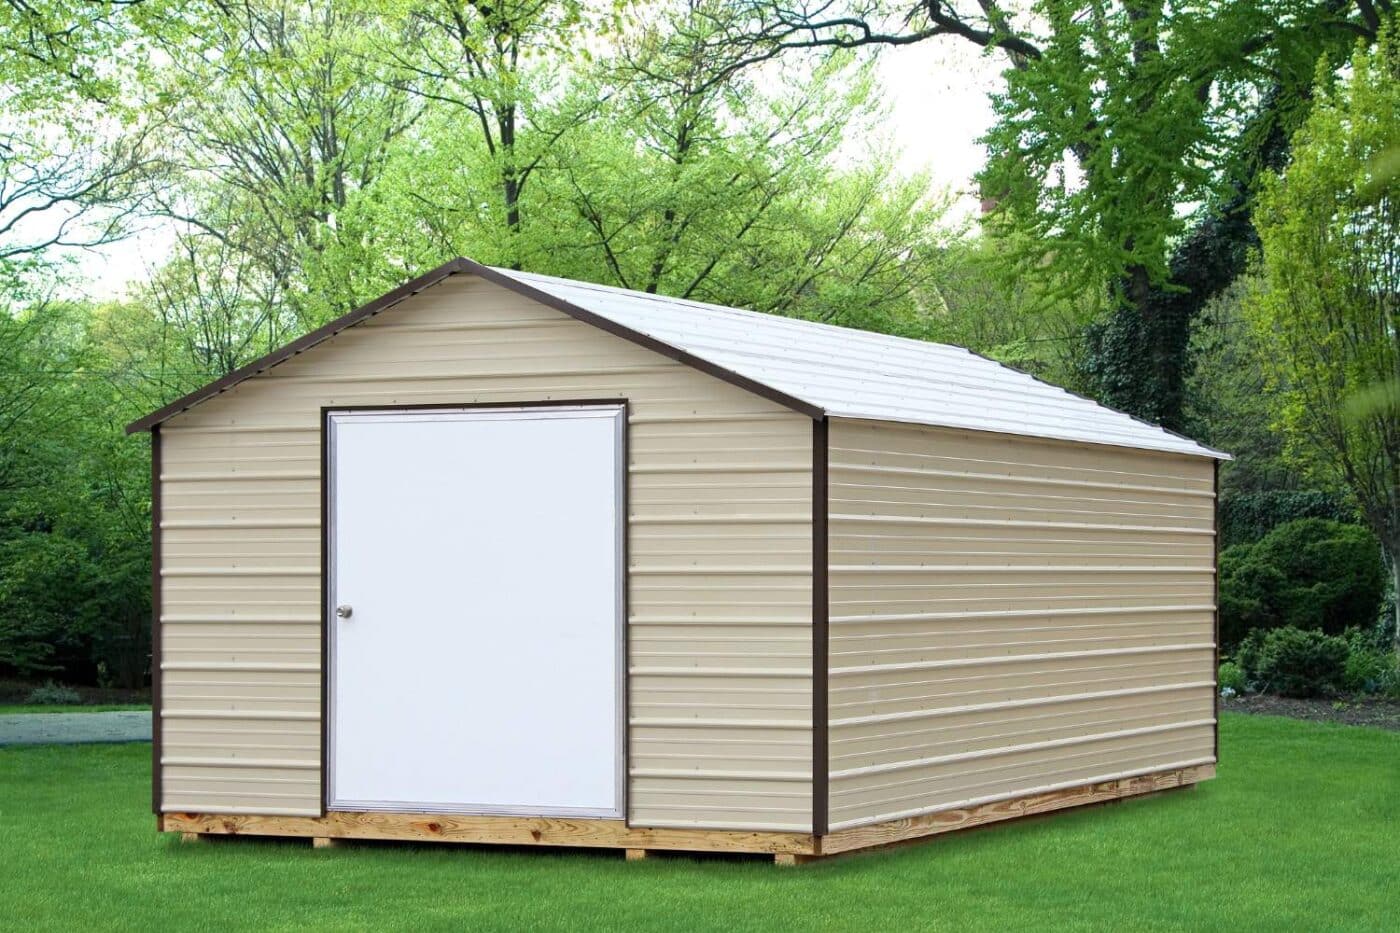
We offer a wide variety of specialty modern sheds to fit all your style and size needs, as well as metal value sheds if you want something simpler.
All of our Arkansas sheds are available to view on our inventory page or in person on our lot so you can see what you like before making a decision.
Looking for a custom shed? Use our 3D shed builder to design your perfect shed and get an instant estimate as soon as you’re done!
If you have any other shed foundation questions or are interested in getting a new shed or other outdoor structure for your Arkansas property, give us a call or submit a contact form online today!
